Skip to content
Home » petg

petg

Visit Tacticalware.com for information related to this tag and others. We look forward to assisting in your tech projects with our in-depth knowledgebase…

SIMPLIFY3D SETTINGS FOR A DIRECT DRIVE ENDER 3 PRO USING eSUN’S PETG IN BLACK

I am in the process of putting together several posts, which detail my printer hardware, along with giving you a copy of my FFF profile for that setup. For this post I am using Simplify3D to Slice eSUN’s PETG in Black, on a Creality Ender 3 Pro with a Direct Drive setup, using a Micro Swiss Hotend.

Slicer Profile can be downloaded here:
https://tacticalware.com/downloads/Tacticalware_Direct_Drive_Ender_3_Pro_ESUN_Black_PETG.fff

Hardware that I used:
Ender 3 Pro

Direct Drive
https://amzn.to/2IR0usR

Hotend
https://amzn.to/37iIrVW

Tubing
https://amzn.to/2IQ8V7N

eSun PETG
https://amzn.to/34fRxke

And I have the following gear in place running Octoprint:
Raspberry Pi 4 (4gb)
https://amzn.to/3q551IO

SanDisk 32GB Ultra microSDHC UHS-I Memory Card with Adapter
https://amzn.to/2Vfvo0y

CanaKit 3.5A Raspberry Pi 4 Power Supply (USB-C)
https://amzn.to/3fNTYPu

CanaKit Raspberry Pi 4 Micro HDMI Cable – 6 Feet
https://amzn.to/33u5hr9

Western Digital 500GB WD_Black SN750 NVMe
https://amzn.to/3nZ5pH4

Plugable USB C to M.2 NVMe Tool-free Enclosure
https://amzn.to/3lflV3L

The most important thing is after you setup your system, you will need to dial it in. For that, you can refer to these pages:
Configure your Extrusion Multiplier:
https://tacticalware.com/ender-3-pro-simplify3d-configuring-the-extrusion-multiplier/

Confirm your heat settings:
https://tacticalware.com/3d-printing-heat-tower/

Thanks for reading!
SIMPLIFY3D SETTINGS FOR A DIRECT DRIVE ENDER 3 PRO USING HATCHBOX’S PETG IN BLACK

I am in the process of putting together several posts, which detail my printer hardware, along with giving you a copy of my FFF profile for that setup. For this post I am using Simplify3D to Slice Hatchbox’s PETG in Black, on a Creality Ender 3 Pro with a Direct Drive setup, using a Micro Swiss Hotend.

Slicer Profile can be downloaded here:
https://tacticalware.com/downloads/Tacticalware_Direct_Drive_Ender_3_Pro_HATCHBOX_Black_PETG.fff

Hardware that I used:
Ender 3 Pro

Direct Drive
https://amzn.to/2IR0usR

Hotend
https://amzn.to/37iIrVW

Tubing
https://amzn.to/2IQ8V7N

Hatchbox PETG
https://amzn.to/385qWHQ

And I have the following gear in place running Octoprint:
Raspberry Pi 4 (4gb)
https://amzn.to/3q551IO

SanDisk 32GB Ultra microSDHC UHS-I Memory Card with Adapter
https://amzn.to/2Vfvo0y

CanaKit 3.5A Raspberry Pi 4 Power Supply (USB-C)
https://amzn.to/3fNTYPu

CanaKit Raspberry Pi 4 Micro HDMI Cable – 6 Feet
https://amzn.to/33u5hr9

Western Digital 500GB WD_Black SN750 NVMe
https://amzn.to/3nZ5pH4

Plugable USB C to M.2 NVMe Tool-free Enclosure
https://amzn.to/3lflV3L

The most important thing is after you setup your system, you will need to dial it in. For that, you can refer to these pages:
Configure your Extrusion Multiplier:
https://tacticalware.com/ender-3-pro-simplify3d-configuring-the-extrusion-multiplier/

Confirm your heat settings:
https://tacticalware.com/3d-printing-heat-tower/


Thanks for reading!
PETG – JAMMING HOTEND, BRITTLE LAYERS AND BREAKS EASILY [SOLVED]


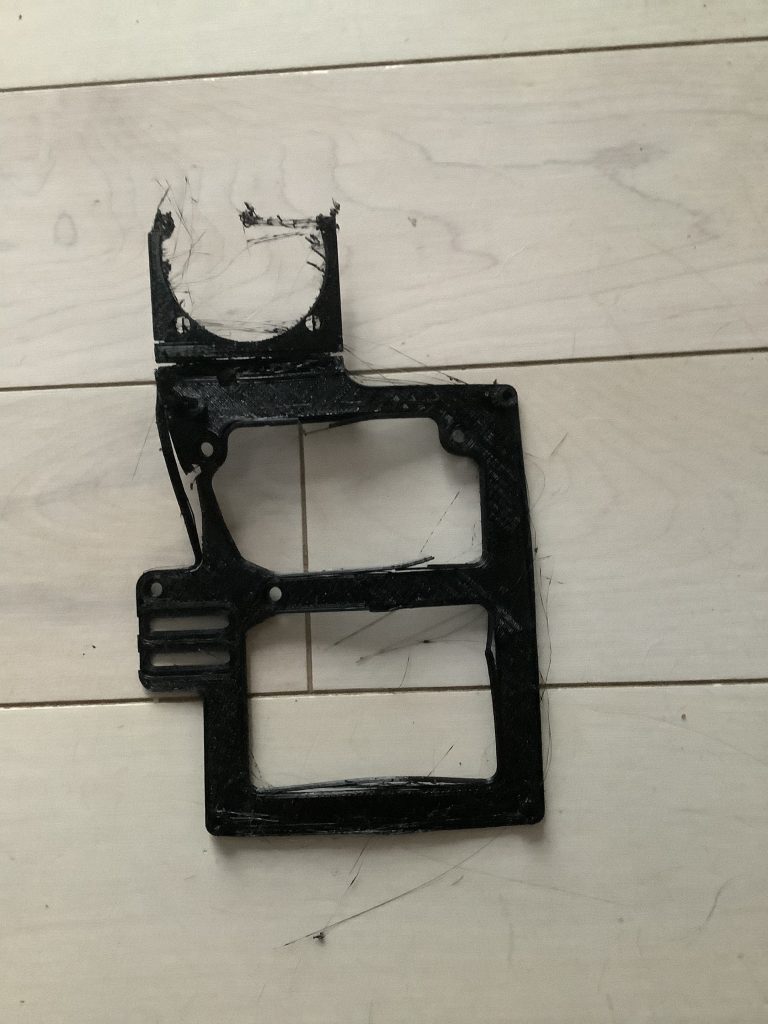
Let’s start here…some PETG prints were amazing…clips, guides, knobs, just about anything without a long flat layer that had infill.

Then began my struggle (see the image below)


After meticulously dialing in my system, running retraction tests, heat towers, extrusion stepper modifications, extrusion multipliers, drying out filament and many many other steps to prep my system for a successful run with PETG prints…. My hotend kept jamming or under extruding, the extruder would click and click, and my prints were terrible.

After it would finish printing, it would break apart by simply touching it….

The solution to this…..

Open Simplify3D

Modify the FFF process

Go to the cooling tab

Set cooling on Layer 1 to 0

Remove all other setpoints

Uncheck the box that says Increase fan speed for layers below

Save, reslice and reprint

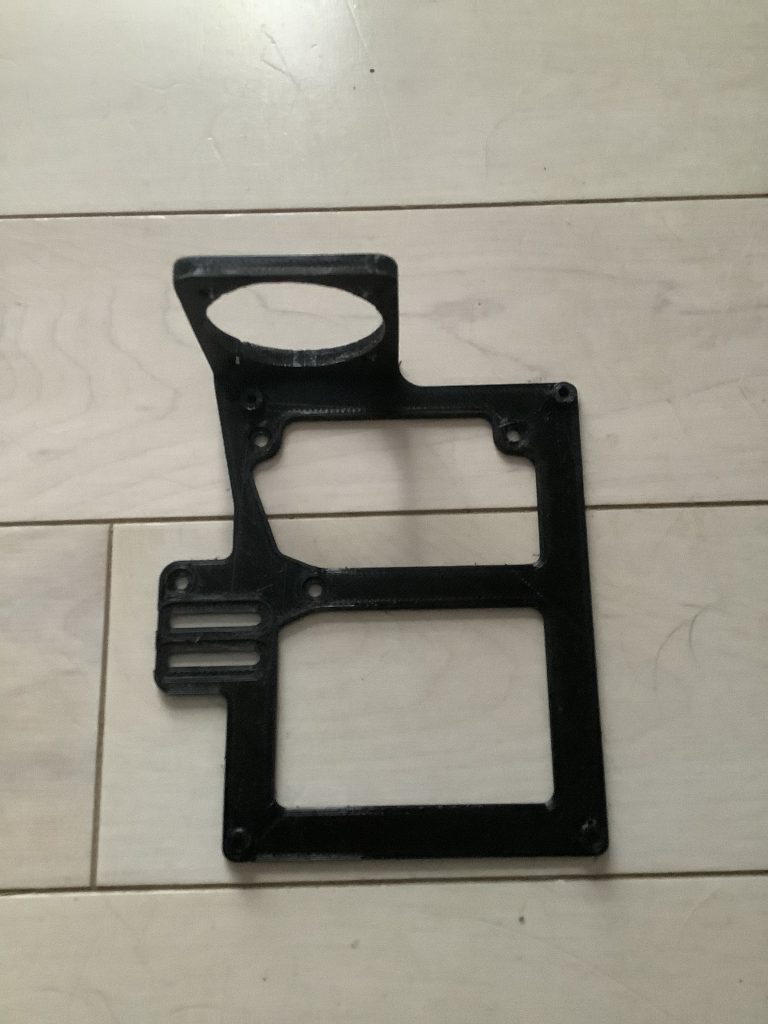
The result…

A solid print in PETG

PETG loves heat….and is ruined with cooling

Now It’s time for me to go back around and reconfigure my system with the extrusion multiplier, speed tests, heat towers, retraction tests….everything

PETG – TEMP TOWER – Simplify3D

In working with PETG, one of the first things you MUST do is print a temp tower, or heat tower, or temperature tower, or whatever you personally call it. This is essential, for understanding what temperatures work best with your filament, manufacturer, and color.

To print this temp tower, first, I had downloaded this model from thingiverse:
https://www.thingiverse.com/thing:3535163

Next you will want to unpack and import the model into Simplify3D

Then you will open up your Process settings

Navigate to the Temperature tab

Click on Primary Extruder

and Modify Layer 1

Layer 1 should be set to 260C

Now you will click Add Setpoint and continue to add setpoints until you have the following displayed in the Pre-Layer Temperature Setpoints box

Layer 1 – 260
Layer 41 – 255
Layer 81 – 250
Layer 121 – 245
Layer 161 – 240
Layer 201 – 235
Layer 241 – 230
Layer 281 – 225
Layer 321 – 220


Save the settings, Slice the tower, and print it

You will want to note which temperature produces the most efficient results without stringing, sagging, or any other issues.

And that will be the temperature in-which you print the rest of your objects with.

If you change Manufacturer, Color, Density, etc, you will want to reprint the tower to note the new settings.

ENDER 3 PRO – UNDER EXTRUSION ISSUE [SOLVED]

To fine tune your Ender 3 Pro you will need to measure the amount of filament that is passing through the machine using the following test, to ensure your settings are correct

First you going to want to disconnect your hotend from the extruder, and place these in an area where you can heat them up and they will not damage themselves or anything around them.

Next you’re going to want to go into the settings of your Ender 3 and click on preheat PLA. This will warm up the hot end and allow you to extrude for our test

Measure out 120mm from entry point on extruder to the spool, and mark it on the filament using a notch or a marker (I prefer a slight notch)

Open Octopi
Go to Terminal Tab
Enter in the following code
G1 E100 F100
Press Send
This will extrude 100mm of filament

Now measure the difference of what went in, verses what is left.
I extruded 90.5mm instead of 100mm, and have 29.5mm left before my notch

Back in Octopi
Terminal Tab
Enter in the following code
M503
Press Send

Search for M92 line and verify it says E93
This is what you will edit

To figure out the new value for E93 do the following
100/90.5*93=102.76
E93 should be E102.76

The values above translate to this
100 – Distance that should have been extruded
/ – divided by
90.5 – is the distance that was extruded
* – Multiplied by
93 – This is the E93 value we saw earlier

Back to Octopi Terminal Tab
Enter in the following
M92 E102.76
Press Send

Enter in the following
M500
Press Send

Your new settings are saved, and your extrusion will be accurate. Feel free to repeat the above steps to ensure your settings are correct and the extrusion works as expected

Dimensional Accuracy with PETG on the Ender 3 Pro aka Elephants Foot [SOLVED]

In printing PETG On the ender three pro I found a variety of settings and examples and temperatures all of which are great suggestions and will leave me in the direction that I need to go however none of them are exact to what I need.

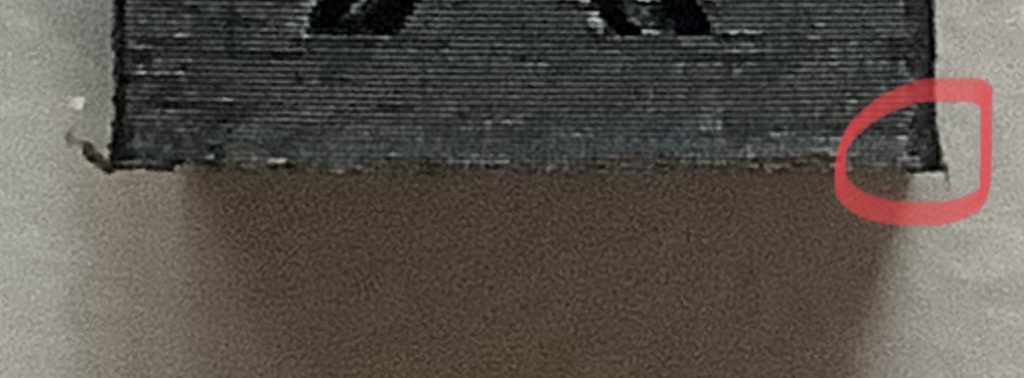
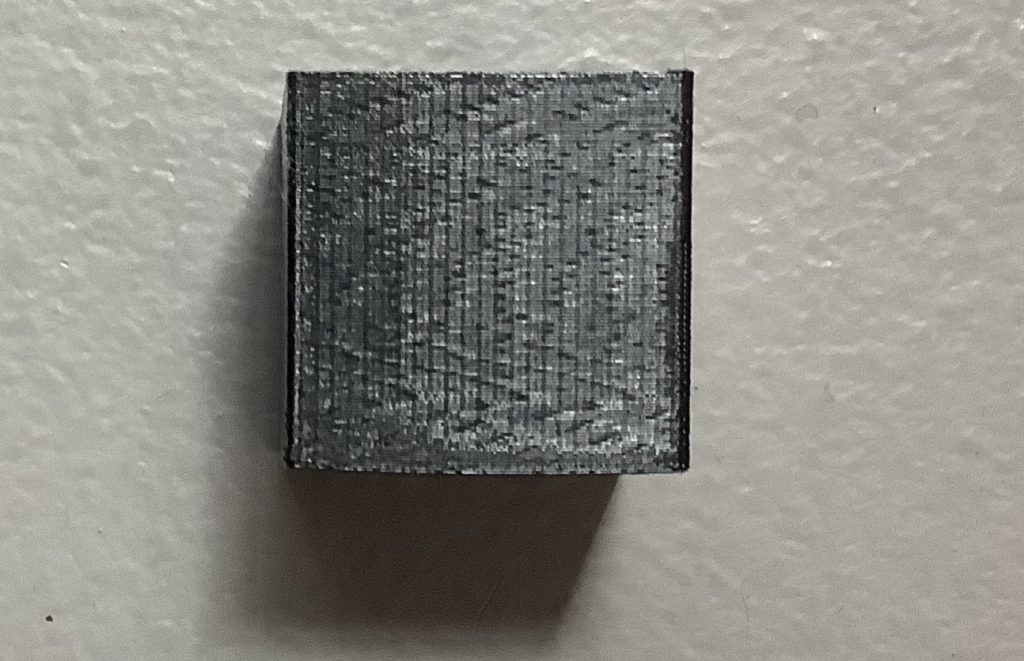
So I started with printing the calibration cube and found the X and Y axis are fine, however the Z axis seems to have some extra squish to it meaning that it’s about 0.3 mm too short, and those first few layers seem to bow outwards

Down my settings are as follows

PETG – AmazonBasics PETG Black

Nozzle – 250C

Bed – 80C

Printer – Ender 3 Pro

after a bit of measuring and fine-tuning I found that my bed temperature was too high so the solution was very simple.

Change the bed temperature to 60C and re-print

Problem solved and my next cube had the perfect dimensions

ENDER 3 PRO – PETG ISSUE – EXTRUDER CLICKS AND PETG WORN DOWN BY EXTRUDER [SOLVED]

So this is she was a tricky one your extruder starts to click but the PETG still prints for a while. If it goes on long enough your PETG will stop printing all together and jam in the nozzle

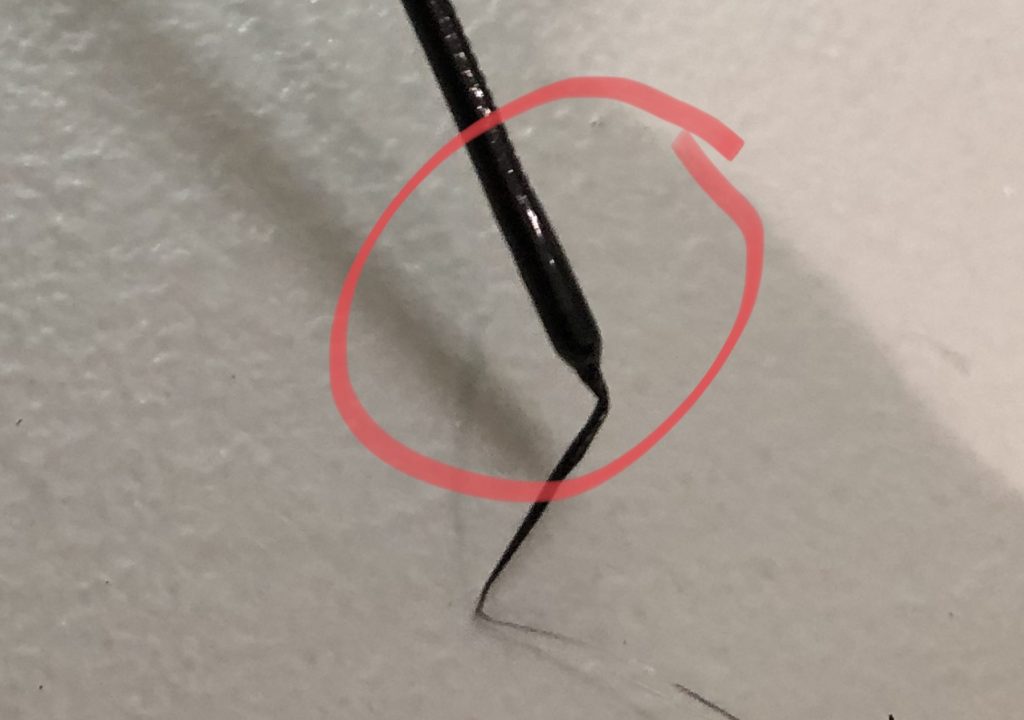
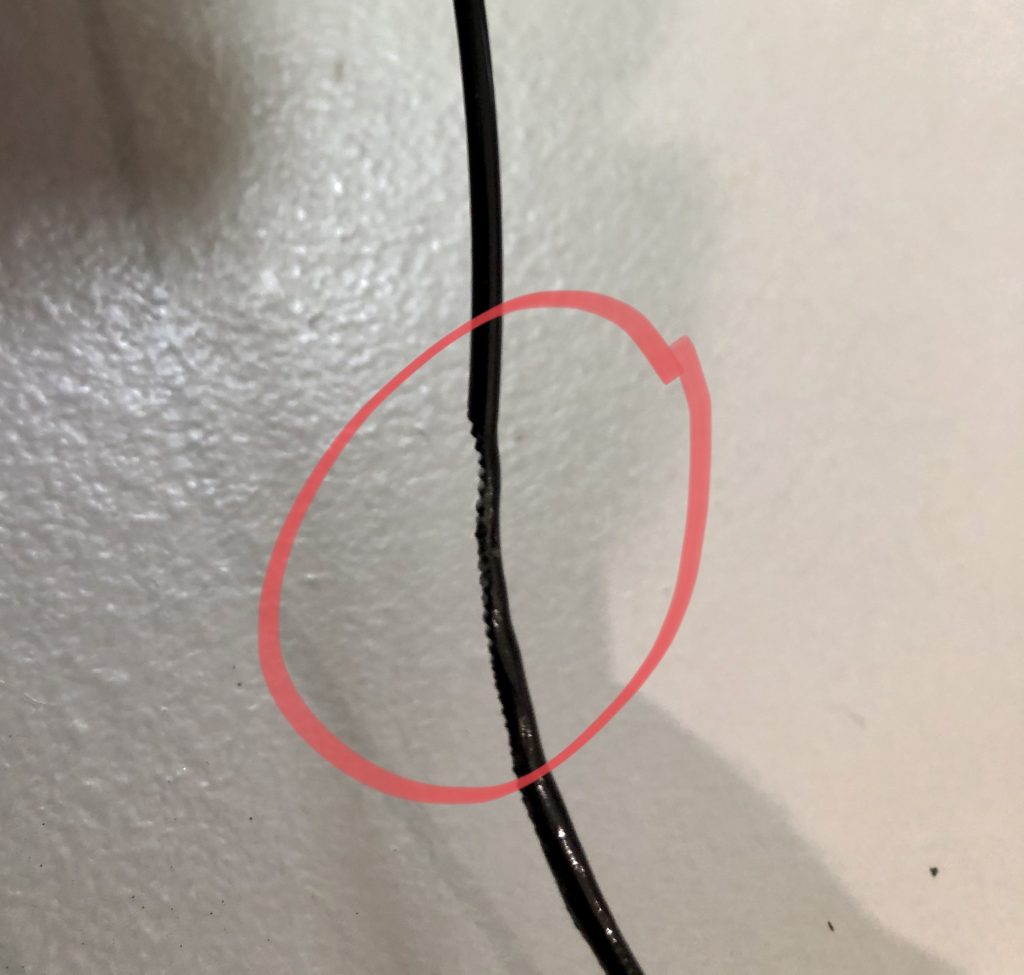
When you clear the jam by pulling the PETG out and you look at the hot end part of it, it’s melted and thicker than the rest of the filament.


When you look at the filament where it was stuck in the extruder it’s substantially worn down and sometimes it’s completely broken off

Essentially what’s happening here is you are putting too much filament through the extruder and it’s backing up at the hot end. Once it backs up too much it jams the nozzle in your extruder starts clicking and wearing down the filament all the way to the point where the filament will break off

The fix for this is easy slow down the amount of filament you are putting through the extruder and that will solve the issue. PETG cannot print as fast as PLA so you will need to put new settings in for the print speed field in your slicer.

I have found that printing somewhere between 1800 to 2200 mm/min is the sweet spot for my under three pro running Amazon basics PETG black. However this setting will change depending on the manufacturer you use and the color and the density of the filament as well.

3D PRINTING – HEAT TOWER

To find out the proper temperature to use with a filament, i highly recommend you print a heat tower for each manufacturer, and color. To setup Simplify3d for this you will need to do the following

First download the heat tower
https://www.thingiverse.com/thing:2223651

Open up the Heat Tower Zip file and we are going to work with the heat tower with bridge for this test

Now open Simplify3D

Import the heat tower in the designated area

Navigate to the Processes area
Edit your Process
Go to the Temperature tab
Navigate to the Temperature Controller List
Select Primary Extruder
In the Per-Layer Temperature Setpoints box you will want to change the following
Layer 1 – Set the temperature to 240
As you add Setpoints, each subsequent layer will be +25 higher and -5 for Temperature. For Example
Layer 1 – Temperature 240
Layer 26 – Temperature 235
Layer 51 – Temperature 230
You will continue on until your last temperature is 190

You can then click OK to save the settings for this print

Slice the print

And send it to your Printer.

Once the print has completed, review which temperature had the best look and feel (no stringing, cleanest lines, etc)

This will now be the temperature you use for this Manufacture with this filament type, and this filament color. Yes each of those 3 things matter. If you change any of them, re-run this test to get the new baseline