Skip to content
Home » ender 3

ender 3

Visit Tacticalware.com for information related to this tag and others. We look forward to assisting in your tech projects with our in-depth knowledgebase…

SIMPLIFY3D SETTINGS FOR A DIRECT DRIVE ENDER 3 PRO USING eSUN’S PETG IN BLACK

I am in the process of putting together several posts, which detail my printer hardware, along with giving you a copy of my FFF profile for that setup. For this post I am using Simplify3D to Slice eSUN’s PETG in Black, on a Creality Ender 3 Pro with a Direct Drive setup, using a Micro Swiss Hotend.

Slicer Profile can be downloaded here:
https://tacticalware.com/downloads/Tacticalware_Direct_Drive_Ender_3_Pro_ESUN_Black_PETG.fff

Hardware that I used:
Ender 3 Pro

Direct Drive
https://amzn.to/2IR0usR

Hotend
https://amzn.to/37iIrVW

Tubing
https://amzn.to/2IQ8V7N

eSun PETG
https://amzn.to/34fRxke

And I have the following gear in place running Octoprint:
Raspberry Pi 4 (4gb)
https://amzn.to/3q551IO

SanDisk 32GB Ultra microSDHC UHS-I Memory Card with Adapter
https://amzn.to/2Vfvo0y

CanaKit 3.5A Raspberry Pi 4 Power Supply (USB-C)
https://amzn.to/3fNTYPu

CanaKit Raspberry Pi 4 Micro HDMI Cable – 6 Feet
https://amzn.to/33u5hr9

Western Digital 500GB WD_Black SN750 NVMe
https://amzn.to/3nZ5pH4

Plugable USB C to M.2 NVMe Tool-free Enclosure
https://amzn.to/3lflV3L

The most important thing is after you setup your system, you will need to dial it in. For that, you can refer to these pages:
Configure your Extrusion Multiplier:
https://tacticalware.com/ender-3-pro-simplify3d-configuring-the-extrusion-multiplier/

Confirm your heat settings:
https://tacticalware.com/3d-printing-heat-tower/

Thanks for reading!
SIMPLIFY3D SETTINGS FOR A DIRECT DRIVE ENDER 3 PRO USING HATCHBOX’S PETG IN BLACK

I am in the process of putting together several posts, which detail my printer hardware, along with giving you a copy of my FFF profile for that setup. For this post I am using Simplify3D to Slice Hatchbox’s PETG in Black, on a Creality Ender 3 Pro with a Direct Drive setup, using a Micro Swiss Hotend.

Slicer Profile can be downloaded here:
https://tacticalware.com/downloads/Tacticalware_Direct_Drive_Ender_3_Pro_HATCHBOX_Black_PETG.fff

Hardware that I used:
Ender 3 Pro

Direct Drive
https://amzn.to/2IR0usR

Hotend
https://amzn.to/37iIrVW

Tubing
https://amzn.to/2IQ8V7N

Hatchbox PETG
https://amzn.to/385qWHQ

And I have the following gear in place running Octoprint:
Raspberry Pi 4 (4gb)
https://amzn.to/3q551IO

SanDisk 32GB Ultra microSDHC UHS-I Memory Card with Adapter
https://amzn.to/2Vfvo0y

CanaKit 3.5A Raspberry Pi 4 Power Supply (USB-C)
https://amzn.to/3fNTYPu

CanaKit Raspberry Pi 4 Micro HDMI Cable – 6 Feet
https://amzn.to/33u5hr9

Western Digital 500GB WD_Black SN750 NVMe
https://amzn.to/3nZ5pH4

Plugable USB C to M.2 NVMe Tool-free Enclosure
https://amzn.to/3lflV3L

The most important thing is after you setup your system, you will need to dial it in. For that, you can refer to these pages:
Configure your Extrusion Multiplier:
https://tacticalware.com/ender-3-pro-simplify3d-configuring-the-extrusion-multiplier/

Confirm your heat settings:
https://tacticalware.com/3d-printing-heat-tower/


Thanks for reading!
SIMPLIFY3D SETTINGS FOR A DIRECT DRIVE ENDER 3 PRO USING SainSmart’s TPU

I am in the process of putting together several posts, which detail my printer hardware, along with giving you a copy of my FFF profile for that setup. For this post I am using Simplify3D to Slice SainSmart’s TPU, on a Creality Ender 3 Pro with a Direct Drive setup, using a Micro Swiss Hotend.

Slicer Profile can be downloaded here:
https://tacticalware.com/downloads/Tacticalware_Direct_Drive_Ender_3_Pro_SainSmart_TPU_Red.fff

Hardware that I used:
Ender 3 Pro

Direct Drive
https://amzn.to/2IR0usR

Hotend
https://amzn.to/37iIrVW

Tubing
https://amzn.to/2IQ8V7N

SainSmart Red TPU
https://amzn.to/3mmCOdB

And I have the following gear in place running Octoprint:
Raspberry Pi 4 (4gb)
https://amzn.to/3q551IO

SanDisk 32GB Ultra microSDHC UHS-I Memory Card with Adapter
https://amzn.to/2Vfvo0y

CanaKit 3.5A Raspberry Pi 4 Power Supply (USB-C)
https://amzn.to/3fNTYPu

CanaKit Raspberry Pi 4 Micro HDMI Cable – 6 Feet
https://amzn.to/33u5hr9

Western Digital 500GB WD_Black SN750 NVMe
https://amzn.to/3nZ5pH4

Plugable USB C to M.2 NVMe Tool-free Enclosure
https://amzn.to/3lflV3L

The most important thing is after you setup your system, you will need to dial it in. For that, you can refer to these pages:
Configure your Extrusion Multiplier:
https://tacticalware.com/ender-3-pro-simplify3d-configuring-the-extrusion-multiplier/

Confirm your heat settings:
https://tacticalware.com/3d-printing-heat-tower/

Thanks for reading!

SIMPLIFY3D SETTINGS FOR A DIRECT DRIVE ENDER 3 PRO USING eSUN PLA+ BLACK

I am in the process of putting together several posts, which detail my printer hardware, along with giving you a copy of my FFF profile for that setup. For this post I am using Simplify3D to Slice eSUN’s PLA+ in Black, on a Creality Ender 3 Pro with a Direct Drive setup, using a Micro Swiss Hotend.

Slicer Profile can be downloaded here:
https://tacticalware.com/downloads/Tacticalware_Direct_Drive Ender_3_Pro_ESUN_Black_PLA.fff

Hardware that I used:
Ender 3 Pro

Direct Drive
https://amzn.to/2IR0usR

Hotend
https://amzn.to/37iIrVW

Tubing
https://amzn.to/2IQ8V7N

eSun PLA+
https://amzn.to/37gdSjs

And I have the following gear in place running Octoprint:
Raspberry Pi 4 (4gb)
https://amzn.to/3q551IO

SanDisk 32GB Ultra microSDHC UHS-I Memory Card with Adapter
https://amzn.to/2Vfvo0y

CanaKit 3.5A Raspberry Pi 4 Power Supply (USB-C)
https://amzn.to/3fNTYPu

CanaKit Raspberry Pi 4 Micro HDMI Cable – 6 Feet
https://amzn.to/33u5hr9

Western Digital 500GB WD_Black SN750 NVMe
https://amzn.to/3nZ5pH4

Plugable USB C to M.2 NVMe Tool-free Enclosure
https://amzn.to/3lflV3L

The most important thing is after you setup your system, you will need to dial it in. For that, you can refer to these pages:
Configure your Extrusion Multiplier:
https://tacticalware.com/ender-3-pro-simplify3d-configuring-the-extrusion-multiplier/

Confirm your heat settings:
https://tacticalware.com/3d-printing-heat-tower/


Thanks for reading!

SIMPLIFY3D SETTINGS FOR AN ENDER 3 PRO USING ESUN’S White PLA+

I am in the process of putting together several posts, which detail my printer hardware, along with giving you a copy of my FFF profile for that setup. For this post I am using Simplify3D to Slice eSun’s White PLA+, on a Creality Ender 3 Pro using a Micro Swiss Hotend. If you have already downloaded and are using my eSun Black PLA FFF file, you will still need this one. Different Colors require different settings.

Slicer Profile can be downloaded here:
https://tacticalware.com/downloads/Tacticalware_Ender_3_Pro_eSun_White_PLA.fff

Hardware that I used:
Ender 3 Pro


Hotend
https://amzn.to/37iIrVW

Tubing
https://amzn.to/2IQ8V7N

eSun White PLA+
https://amzn.to/3gLFU9T

And I have the following gear in place running Octoprint:
Raspberry Pi 4 (4gb)
https://amzn.to/3q551IO

SanDisk 32GB Ultra microSDHC UHS-I Memory Card with Adapter
https://amzn.to/2Vfvo0y

CanaKit 3.5A Raspberry Pi 4 Power Supply (USB-C)
https://amzn.to/3fNTYPu

CanaKit Raspberry Pi 4 Micro HDMI Cable – 6 Feet
https://amzn.to/33u5hr9

Western Digital 500GB WD_Black SN750 NVMe
https://amzn.to/3nZ5pH4

Plugable USB C to M.2 NVMe Tool-free Enclosure
https://amzn.to/3lflV3L

The most important thing is after you setup your system, you will need to dial it in. For that, you can refer to these pages:
Configure your Extrusion Multiplier:
https://tacticalware.com/ender-3-pro-simplify3d-configuring-the-extrusion-multiplier/

Confirm your heat settings:
https://tacticalware.com/3d-printing-heat-tower/

Thanks for reading!

SIMPLIFY3D SETTINGS FOR AN ENDER 3 PRO USING ESUN’S BLACK PLA

I am in the process of putting together several posts, which detail my printer hardware, along with giving you a copy of my FFF profile for that setup. For this post I am using Simplify3D to Slice eSun’s Black PLA, on a Creality Ender 3 Pro using a Micro Swiss Hotend.

Slicer Profile can be downloaded here:
https://tacticalware.com/downloads/Tacticalware_Ender_3_Pro_ESUN_Black_PLA.fff

Hardware that I used:
Ender 3 Pro


Hotend
https://amzn.to/37iIrVW

Tubing
https://amzn.to/2IQ8V7N

eSun PLA+
https://amzn.to/37gdSjs


And I have the following gear in place running Octoprint:
Raspberry Pi 4 (4gb)
https://amzn.to/3q551IO

SanDisk 32GB Ultra microSDHC UHS-I Memory Card with Adapter
https://amzn.to/2Vfvo0y

CanaKit 3.5A Raspberry Pi 4 Power Supply (USB-C)
https://amzn.to/3fNTYPu

CanaKit Raspberry Pi 4 Micro HDMI Cable – 6 Feet
https://amzn.to/33u5hr9

Western Digital 500GB WD_Black SN750 NVMe
https://amzn.to/3nZ5pH4

Plugable USB C to M.2 NVMe Tool-free Enclosure
https://amzn.to/3lflV3L

The most important thing is after you setup your system, you will need to dial it in. For that, you can refer to these pages:
Configure your Extrusion Multiplier:
https://tacticalware.com/ender-3-pro-simplify3d-configuring-the-extrusion-multiplier/

Confirm your heat settings:
https://tacticalware.com/3d-printing-heat-tower/

Thanks for reading!

PETG – JAMMING HOTEND, BRITTLE LAYERS AND BREAKS EASILY [SOLVED]


Let’s start here…some PETG prints were amazing…clips, guides, knobs, just about anything without a long flat layer that had infill.

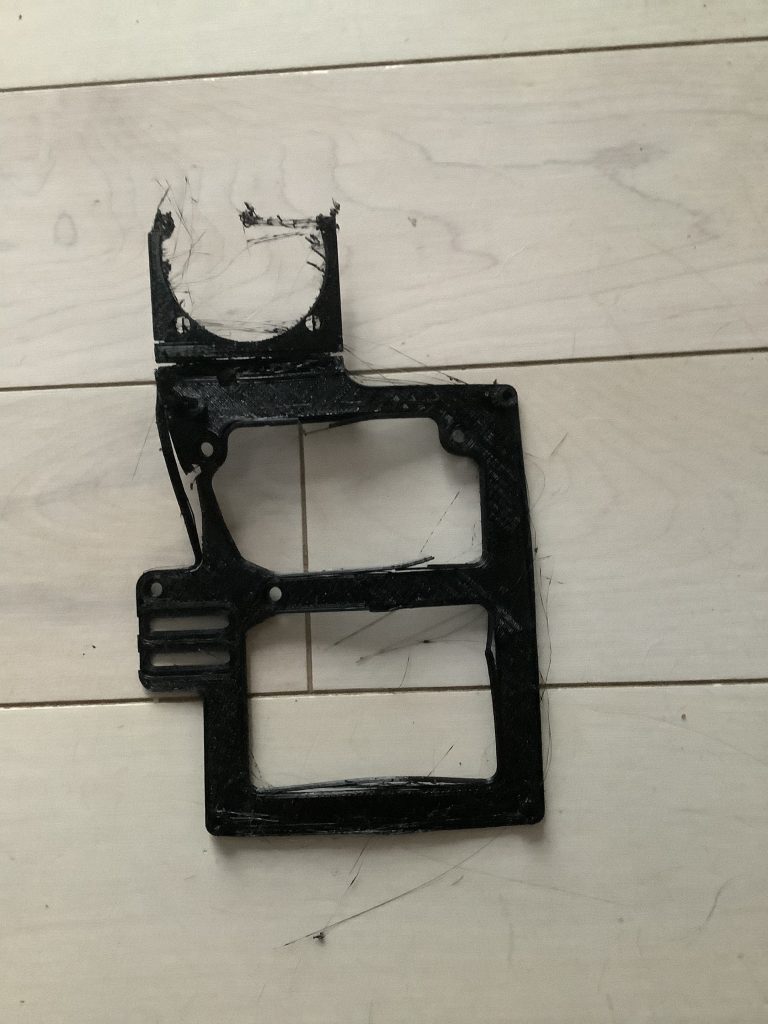
Then began my struggle (see the image below)


After meticulously dialing in my system, running retraction tests, heat towers, extrusion stepper modifications, extrusion multipliers, drying out filament and many many other steps to prep my system for a successful run with PETG prints…. My hotend kept jamming or under extruding, the extruder would click and click, and my prints were terrible.

After it would finish printing, it would break apart by simply touching it….

The solution to this…..

Open Simplify3D

Modify the FFF process

Go to the cooling tab

Set cooling on Layer 1 to 0

Remove all other setpoints

Uncheck the box that says Increase fan speed for layers below

Save, reslice and reprint

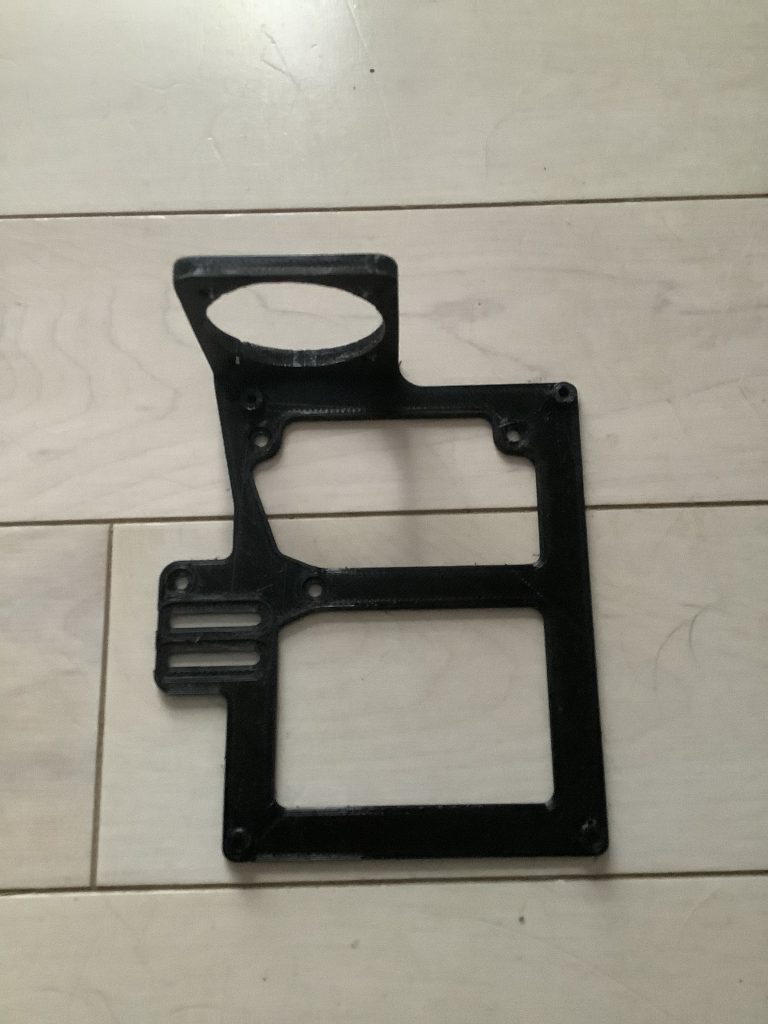
The result…

A solid print in PETG

PETG loves heat….and is ruined with cooling

Now It’s time for me to go back around and reconfigure my system with the extrusion multiplier, speed tests, heat towers, retraction tests….everything

IMPORTING A CURE PROFILE

Quick How-To Guide to walk through the steps of importing a .curaprofile file into your Cura Application, and enable it.

Download and install the latest version of Cura. In my case it is 4.6.1

Click Settings

Select Printers

Select Manage Printers

Click Profiles

Click Import

Navigate to your .curaprofile and upload it

Now, create a new Cura project

In the Top Right of your screen click Printer Settings

Click the drop down arrow next to Profile

Select your Profile (the one you just uploaded)

You can now slice using the imported profile

3D PRINTING – HEAT TOWER

To find out the proper temperature to use with a filament, i highly recommend you print a heat tower for each manufacturer, and color. To setup Simplify3d for this you will need to do the following

First download the heat tower
https://www.thingiverse.com/thing:2223651

Open up the Heat Tower Zip file and we are going to work with the heat tower with bridge for this test

Now open Simplify3D

Import the heat tower in the designated area

Navigate to the Processes area
Edit your Process
Go to the Temperature tab
Navigate to the Temperature Controller List
Select Primary Extruder
In the Per-Layer Temperature Setpoints box you will want to change the following
Layer 1 – Set the temperature to 240
As you add Setpoints, each subsequent layer will be +25 higher and -5 for Temperature. For Example
Layer 1 – Temperature 240
Layer 26 – Temperature 235
Layer 51 – Temperature 230
You will continue on until your last temperature is 190

You can then click OK to save the settings for this print

Slice the print

And send it to your Printer.

Once the print has completed, review which temperature had the best look and feel (no stringing, cleanest lines, etc)

This will now be the temperature you use for this Manufacture with this filament type, and this filament color. Yes each of those 3 things matter. If you change any of them, re-run this test to get the new baseline


ENDER 3 PRO – OCTOPRINT – BED SIZE ISSUE [SOLVED]

When you send a print job to your Ender 3 Pro, using your Octopi, it starts to print, and the hotend does not recognize the correct size for the bed. The hotend is pushed off to the side, begins clicking, and the print is a mess.

Solution:
Make sure your Slicer has the correct bed size set in it
Make sure the OctoPi has the correct printer setup in it
Turn OFF your printer
Turn OFF your OctoPi
Disconnect the USB Cable in your Ender 3, from the OctoPi
Wait 30 seconds
Turn ON the printer
Turn ON the OctoPi
Wait 1 minute
Plug the USB cable back into the Ender 3
Login into your OctoPi
Click connect so the OctoPi works again with the Ender 3
Send the print job that failed before

And now it works!