ENDER 3 PRO – UNDER EXTRUSION ISSUE [SOLVED]
To fine tune your Ender 3 Pro you will need to measure the amount of filament that is passing through the machine using the following test, to ensure your settings are correct
First you going to want to disconnect your hotend from the extruder, and place these in an area where you can heat them up and they will not damage themselves or anything around them.
Next you’re going to want to go into the settings of your Ender 3 and click on preheat PLA. This will warm up the hot end and allow you to extrude for our test
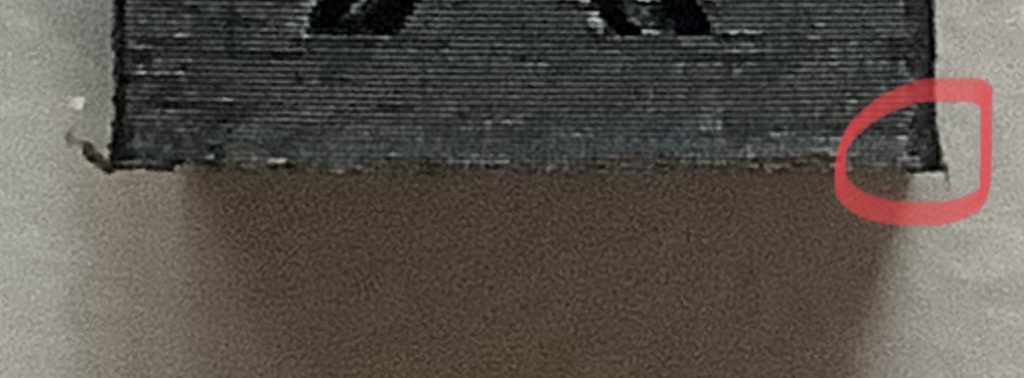
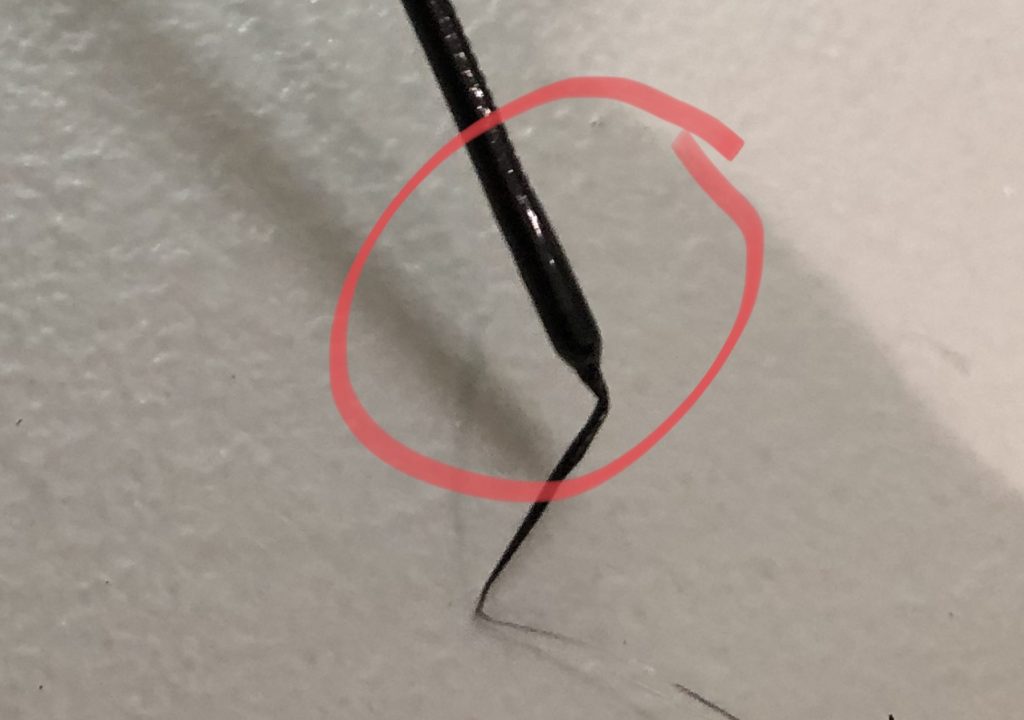
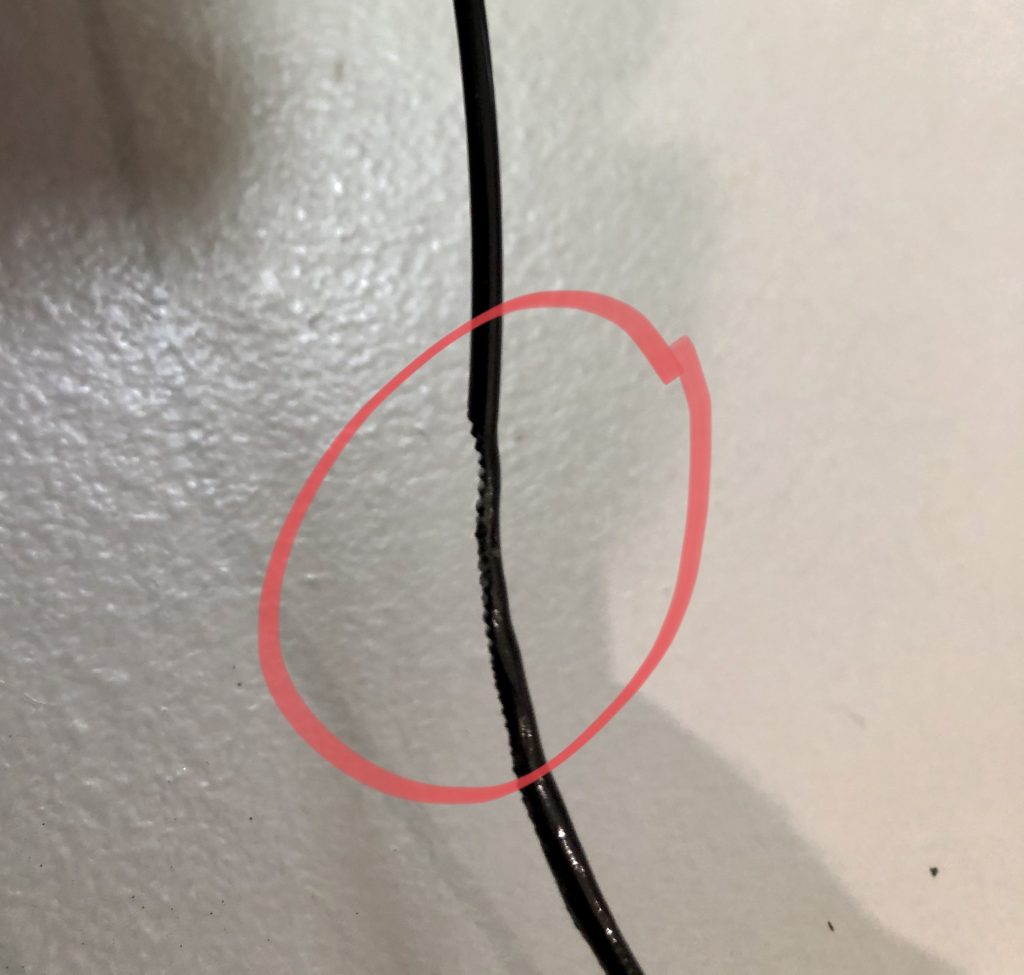
Measure out 120mm from entry point on extruder to the spool, and mark it on the filament using a notch or a marker (I prefer a slight notch)
Open Octopi
Go to Terminal Tab
Enter in the following code
G1 E100 F100
Press Send
This will extrude 100mm of filament
Now measure the difference of what went in, verses what is left.
I extruded 90.5mm instead of 100mm, and have 29.5mm left before my notch
Back in Octopi
Terminal Tab
Enter in the following code
M503
Press Send
Search for M92 line and verify it says E93
This is what you will edit
To figure out the new value for E93 do the following
100/90.5*93=102.76
E93 should be E102.76
The values above translate to this
100 – Distance that should have been extruded
/ – divided by
90.5 – is the distance that was extruded
* – Multiplied by
93 – This is the E93 value we saw earlier
Back to Octopi Terminal Tab
Enter in the following
M92 E102.76
Press Send
Enter in the following
M500
Press Send
Your new settings are saved, and your extrusion will be accurate. Feel free to repeat the above steps to ensure your settings are correct and the extrusion works as expected