Skip to content
Home » simplify3d » Page 2

simplify3d

Visit Tacticalware.com for information related to this tag and others. We look forward to assisting in your tech projects with our in-depth knowledgebase…

PETG – TEMP TOWER – Simplify3D

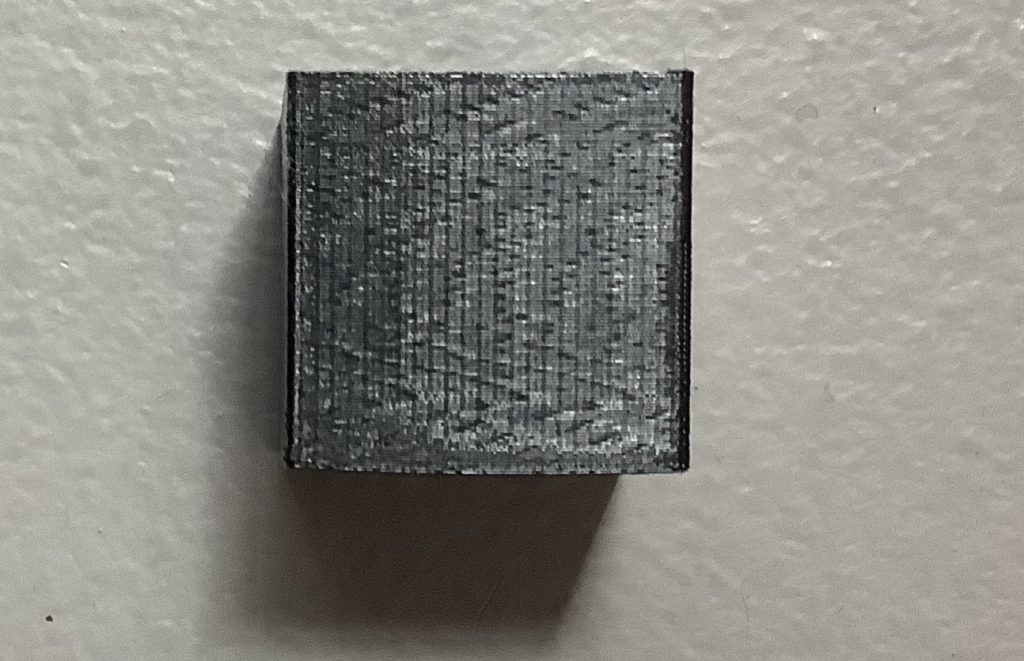
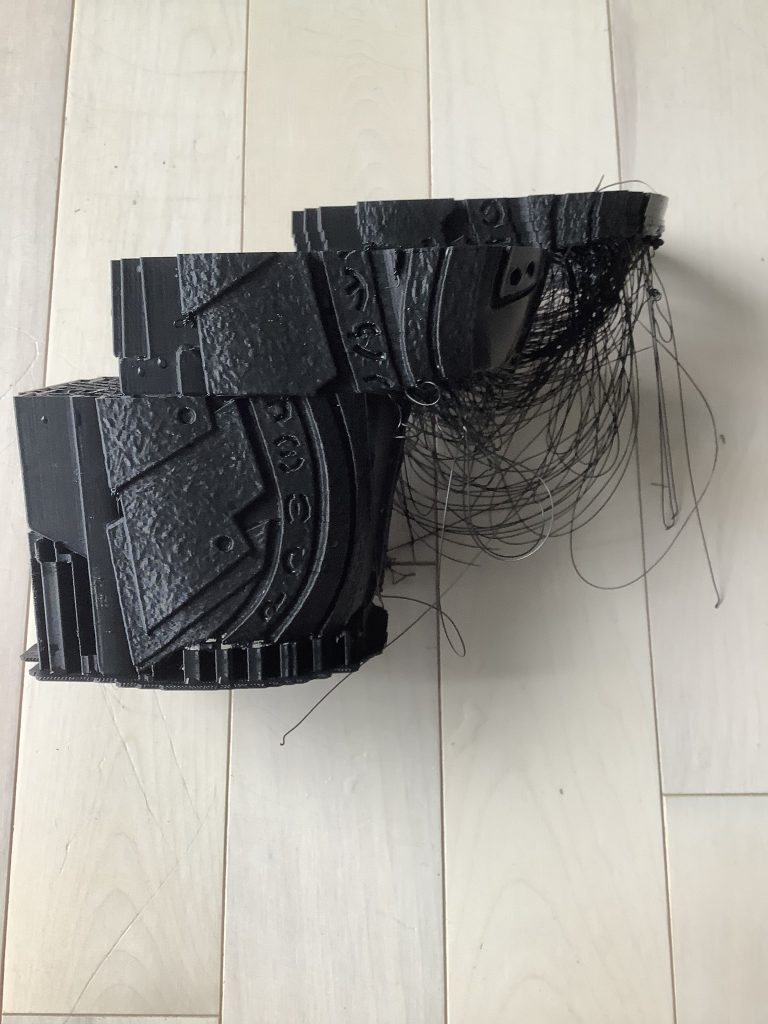
In working with PETG, one of the first things you MUST do is print a temp tower, or heat tower, or temperature tower, or whatever you personally call it. This is essential, for understanding what temperatures work best with your filament, manufacturer, and color.

To print this temp tower, first, I had downloaded this model from thingiverse:
https://www.thingiverse.com/thing:3535163

Next you will want to unpack and import the model into Simplify3D

Then you will open up your Process settings

Navigate to the Temperature tab

Click on Primary Extruder

and Modify Layer 1

Layer 1 should be set to 260C

Now you will click Add Setpoint and continue to add setpoints until you have the following displayed in the Pre-Layer Temperature Setpoints box

Layer 1 – 260
Layer 41 – 255
Layer 81 – 250
Layer 121 – 245
Layer 161 – 240
Layer 201 – 235
Layer 241 – 230
Layer 281 – 225
Layer 321 – 220


Save the settings, Slice the tower, and print it

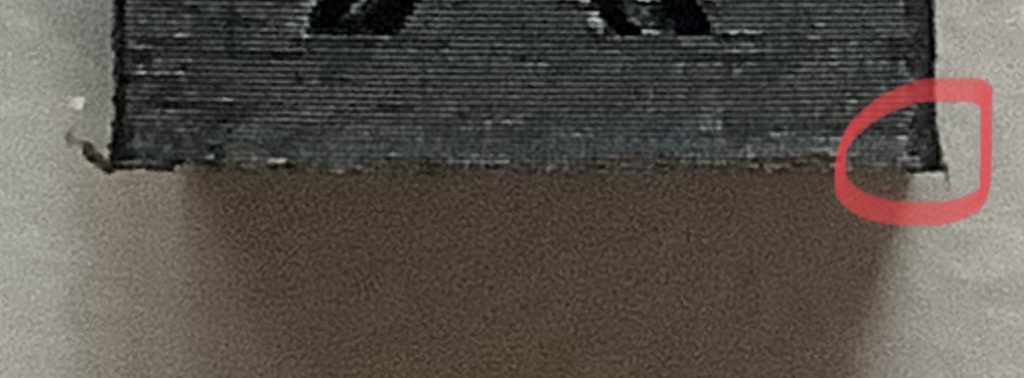
You will want to note which temperature produces the most efficient results without stringing, sagging, or any other issues.

And that will be the temperature in-which you print the rest of your objects with.

If you change Manufacturer, Color, Density, etc, you will want to reprint the tower to note the new settings.

Dimensional Accuracy with PETG on the Ender 3 Pro aka Elephants Foot [SOLVED]

In printing PETG On the ender three pro I found a variety of settings and examples and temperatures all of which are great suggestions and will leave me in the direction that I need to go however none of them are exact to what I need.

So I started with printing the calibration cube and found the X and Y axis are fine, however the Z axis seems to have some extra squish to it meaning that it’s about 0.3 mm too short, and those first few layers seem to bow outwards

Down my settings are as follows

PETG – AmazonBasics PETG Black

Nozzle – 250C

Bed – 80C

Printer – Ender 3 Pro

after a bit of measuring and fine-tuning I found that my bed temperature was too high so the solution was very simple.

Change the bed temperature to 60C and re-print

Problem solved and my next cube had the perfect dimensions

Ended 3 Pro – Massive Layer Shift in Mid Print [SOLVED]

OK so I was in the middle of printing the gauntlet from the predator costume and about halfway through the print a massive layer shift occurred. Continuing on with the print thinking that I can just cut that Layer and reattach it properly another massive layer shift happened.

Layer shift generally happens very early on in the print out is because a base layer essentially had issues. With this being so far and you can tell that’s not the case at all …. so what was causing all this

After re-slicing and re-printing check in the environmental factors and 100 other things the final verdict on it was……

Heat!

This was printed in an enclosure in the ambient temperature was above 90°F. This temperature in the enclosure caused the later shift because one of the Axis motors temporarily overheated and shut down, all while the other two motors kept on printing. When the motor restarted it was in the wrong position causing the later shift.

3D PRINTING – HEAT TOWER

To find out the proper temperature to use with a filament, i highly recommend you print a heat tower for each manufacturer, and color. To setup Simplify3d for this you will need to do the following

First download the heat tower
https://www.thingiverse.com/thing:2223651

Open up the Heat Tower Zip file and we are going to work with the heat tower with bridge for this test

Now open Simplify3D

Import the heat tower in the designated area

Navigate to the Processes area
Edit your Process
Go to the Temperature tab
Navigate to the Temperature Controller List
Select Primary Extruder
In the Per-Layer Temperature Setpoints box you will want to change the following
Layer 1 – Set the temperature to 240
As you add Setpoints, each subsequent layer will be +25 higher and -5 for Temperature. For Example
Layer 1 – Temperature 240
Layer 26 – Temperature 235
Layer 51 – Temperature 230
You will continue on until your last temperature is 190

You can then click OK to save the settings for this print

Slice the print

And send it to your Printer.

Once the print has completed, review which temperature had the best look and feel (no stringing, cleanest lines, etc)

This will now be the temperature you use for this Manufacture with this filament type, and this filament color. Yes each of those 3 things matter. If you change any of them, re-run this test to get the new baseline


Simplify3D Opens and Immediately Closes [SOLVED]

Simple fix for this issue. Please note that this will remove your FFF files, so make sure you have them backed up prior

Navigate to
C:/Users/%USERNAME%/AppData/Local/Simplify3D/

Delete the folder named:
S3D-Software

Now you can launch Simplify3D and the issue is fixed